DIY Manicure—Do it Yourself Manicure has several advantages. One can save money as the cost at home is much less than the amount to be paid in the salon. It does not require any waiting and so saves time. A good manicure keeps the hands soft smooth and well groomed. Nail hacks give the healthiest manicure producing prettier hands and nails.
Did you ever try the procedure of manicure right at home by yourself? It is really easy. With some step by step procedure you can easily try it right at home. You have another option for manicure, i.e. visiting professional stylists and get it done. But, that too will be really expensive. Have you ever come across the nail hacks? This article will speak about the DIY nail hacks. This nail hacks will help getting your nails in a healthy and good position. You must have experienced broken nails many times in your life. But these nail hacks will get a perfect remedy.
Nail hacks for perfect DIY manicure
- Start with clean nails by carefully removing the traces of old nail polish with cotton balls and nail polish remover.
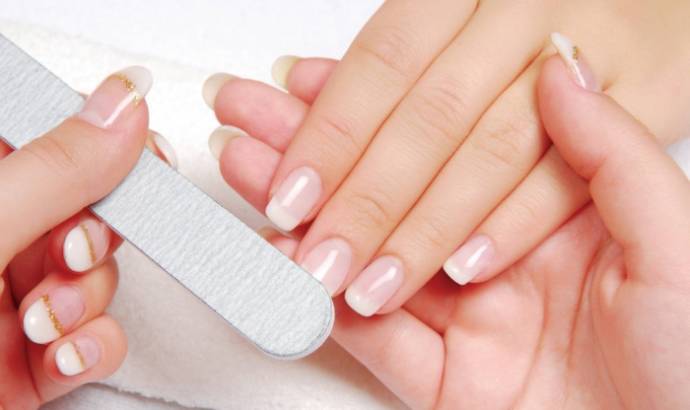
- Shape the nails with a fine surfaced nail file. There are three main shapes adopted for nails—oval. Square and round. Oval nails suit most ladies but those who work a lot with their hands, it is better to keep the nails short and square to avoid breakage. File should be done in one direction first from left to right and then from right to left.
- Use ice water to dry the nails in three minutes.
- Broken nails can be fixed with tea bags and nail glue.
- Take off the previous nail polish with cotton pad and nail polish remover.
- Give a fishnet manicure look by using a torn loofah.
- Make a dotter by sticking pin in an eraser. Bobbin pin can be used to make small dots.
- Whiten the nails after removing nail polish by soaking the fingers in a solution of hot water, hydrogen peroxide and baking soda or by applying some whitening toothpaste and scrubbing the stains away with a soft toothbrush
- Remove mistakes by dipping an old paint brush or eyeliner brush in the nail polish remover.
- The first coat of nail polish should be of base coat. It must be dabbed and not brushed. This will help in spreading the glitter smoothly.
- A heart can easily be painted with a toothpick.
- Band aids can be used to for dual toned nails to give the French look. A tape with medium sized hole can create the effect of polka dots.
- The nails should be soaked in a solution of white vinegar and water. Vinegar will help to spread the polish in a better manner.
- Nail infections can be easily treated with rub the ingredient thymol in vaporub helps to cure bacterial and virus infection.
- Always put a base coat before applying the main colour. It is wiser to put two to three thin coats instead of one thick coat. Put a plaster about 1.5mm from the base and paint the second colour on the top.
- Scotch tape magic or masking tapes can be used to create shapes. Shapes can be created by putting the tape in different positions. Thin strips can be used to give the effect of zigzag appearance. A heart stencil can be made by making a heart shaped puncher in the scotch tape.
- A plastic bag can be used to give a cool effect. Paint the bag with main colour paint and place it on the dry base coat.
- Manicure can be well set and smudges can be prevented by spraying nails with oil spray.
- Actuator or Vaseline should be applied to cuticles to protect the skin from strokes of nail polish.
- It is better to use nail polish thinners instead of nail polish removers to dilute the thick polish in the bottles.
- A wet smudge can be easily fixed by licking the finger with the tongue to smoothen the surface. Saliva reacts with the nail paint and makes it even and smooth.
- A rubberised based coat should be used to make the nail polish last longer.
- If the weather is humid give more time for the nail polish to dry. Humidity can spoil the paint and do nasty things like creating bubbles.
- Do not sit near the fan after applying nail polish. The drifty air from the fan will make bubbles and spoil the nail paint.
- New nail paint colours can be by mixing loose pigments in clear polish. For example small amount of eye shadow colour can be added to clear polish to produce a new colour.
- A marbled effect in nail paint can be created by using swirling drops of two or three colours of nail polish in a cup of water. Hold the fingers in the paint with nails on the surface of the paint. For a few seconds. Remove the extra paint with the paper clip
Nail hacks for the perfect DIY manicure
Lemon for broken nails
Sometimes the broken nails can also hurt. You need to find out the ways through which you don’t get the broken nails at all. The best way will be natural lemon. You need to cut a slice of lemon and rub the juicy part over your nails and also cover the corners and cuticle. This will effectively retain your healthy nails without any break.
Gel manicure
A protective coating over your nail is very important to restrict it from unnecessary breakage. You can now get gel manicure in any of the cosmetic stores. You must get it and apply it over your nails once you have cleaned and shaped your nails. It is a transparent gel like fluid that can be applied over your nails to get extra strength. This will also help you get a shiny and lustrous nails being in its natural color.
Match stick for nail art
Most of the teenage girls have a tendency to get different designs on their nails. But for that you require nail art tool. But, if you don’t have that tool set, all you have to do is apply a dark coat of nail polish at first and let it dry for an hour. Again put another nail coat and wait. After it is dried, use a match stick and dip it in another color nail polish that will make a contrast with base. Now put several dots over your nails. This will give a roundish and attractive finish.


