Keratin hair treatment in salons can be reasonably expensive. However, it doesn’t mean you cannot have super silky hair if you are not ready to pay for the services. You can save a lot of your valuable money by doing the Keratin treatment at home.
You can achieve the desired results by wisely selecting the products and carefully following the instructions. You can seek assistance from an experienced friend who has tried the treatment before. The procedure takes nearly 2 to 4 hours and a little patience for the magic to work right.
Things to note before doing a DIY keratin hair treatment
You cannot be perfect in the first attempt
When you finalise the decision of doing a keratin treatment at home you must know that there is a difference between you and the professional aesthetician. You cannot always get the perfect salon like keratin treatment results at home.
Research, learn, see reviews and then take the further steps
For your DIY keratin treatment to be successful you need to research about its process, pros and cons, search for genuine reviews of people who have tried it on their own earlier and also avoid the mistakes they did. Once you are thorough with it, you are ready to be your own aesthetician!
Condition your hair
You need to deeply condition your hair before keratin treatment for best results and the ideal time is 1 week before the treatment. Conditioning your hair will seal the hair cuticles, nourish the strands and reduce frizz, which will make the whole process easier for you.
Avoid conditioning your hair just 2-3 days before the treatment, as it will be of no use. Also, do not use any type of oils or other hair products just before the treatment.
Consider trimming your hair
If you do not trim your hair before the treatment, the results will not amaze you at all, as your split ends will spoil the show. It would be even better to have a haircut before the treatment.
Be ready to spend
Remember beauty comes with a cost! When you opt for keratin treatment you have to pay not only for the kit but also for the after-care products and the touch up sessions if you want it to last long. Hence, you must be willing to spend on hair care products.
Choose the right products
It is advisable to use quality products for more effective results. You can purchase the products online or get them from a nearby salon. Remember to select products that are 100% free from formaldehyde.
Gather your tools
You will require the following tools to perform keratin hair treatment at home:
- Clarifying shampoo
- Smoothing product
- Towel
- Latex Gloves
- Tint brush
- Tint bowl
- Hair clips
- Processing cap
- Fine-toothed comb
- Flat iron
- Round and paddle brush
- Blow-dryer
Keratin smoothing treatment procedure
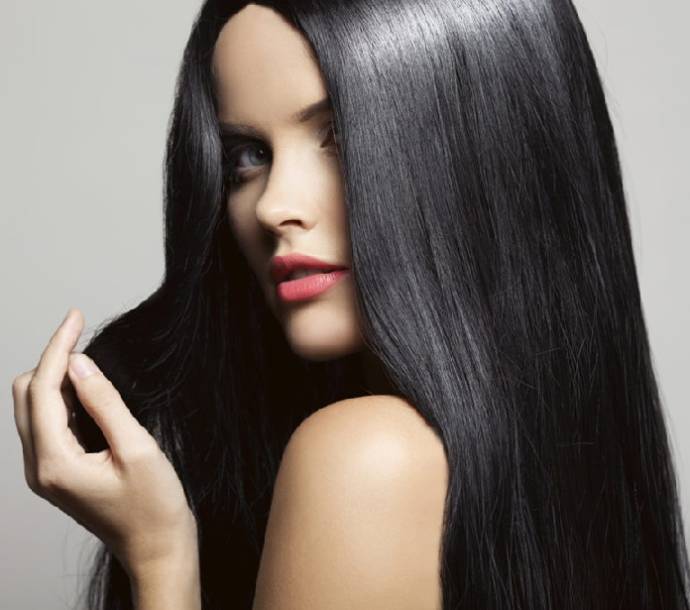
Keratin smoothing treatment is formulated to relax curls, reduce frizz, and add shine. You can safely use it for any hair to soften the curls and remove the frizz.
Keratin protein and additional amino acid applied during the procedure conceal the outermost layer of the hair strands to eliminate frizz and reduce split ends. The results are straighter, silkier, and more manageable hair for about 60 days.
The treatment does not require any downtime. You can quickly shampoo your hair and immediately go out after the procedure.
You can do the treatment at home by following step by step instructions. However, it is always advisable to consult your hair stylist for extra precaution. Here are the steps to do Keratin Treatment at home:
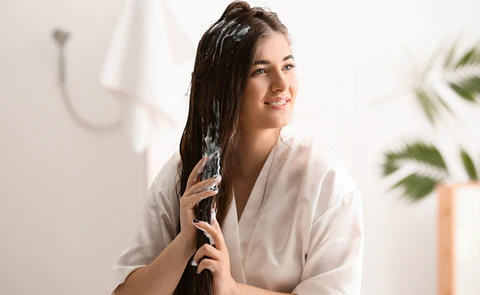
- Clarification – The first step is to clean your hair. Use a clarifying shampoo to wash your hair. It will help remove any product build-up on the scalp. Once washed, rinse your hair thoroughly and remember not to apply any conditioner.
- Towel-dry – Blot-dry your hair with a towel to remove excess water.
- Part the hair – Use large clips to divide your hair into four partitions. Shake and pour the Keratin Treatment product into a bowl.
- Apply the product – Use a tint brush and latex gloves to apply the product. Start from the neck and gradually work upwards by pulling down an inch section of hair. Ensure even distribution using a fine tooth tail comb. Make sure that you cover all your hair.
- Process – Leave the product for some time to process. Thick hair may require more time to absorb the treatment. Periodically comb your hair to support processing.
- Rinse – Thoroughly rinse your hair using warm water.
- Blow-Dry – Use a round or paddle brush to blow-dry your hair.
- Flat-iron – Iron your hair using a high-quality flat iron having titanium plates to maintain high temperatures. Start by dividing your hair into sections. Secure with clips. Set the temperature of the flat iron between 350-430 F ideally. The temperature may vary according to the condition of your hair. Keep the flat iron moving to avoid burns and breakage.