If you aren’t very regular with filing your nails, chances are that you have uneven nails. Nails are quite an important aspect of our beauty and they shouldn’t be neglected at all. Even you’re not frequent with accessorizing your nails, you would still have to keep them neatly shaped. This is not only just for personal care but also to prevent breakage and excessive cutting.
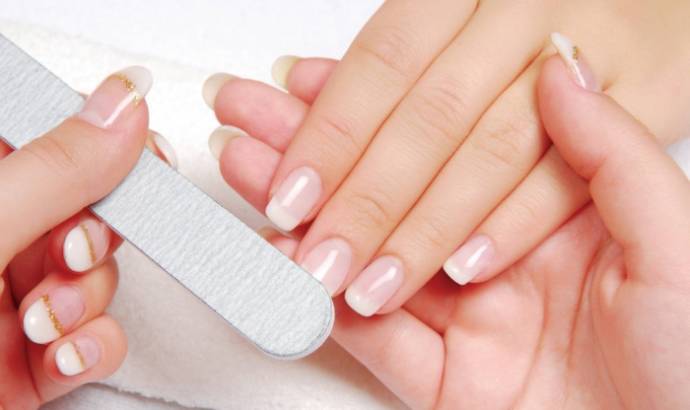
Filing your nails to fix your nail curves is not that difficult. There is no need to spend tons of money at the parlor, for petty hacks which you can help yourself with. Use a nail file and understand how you are to use them properly.
Choose your nail filing instrument
- Emery boards are the most commonly used nail file. They are cheap and easily available. These are sold with different ‘grits’. The lesser the number the rougher your grit is. They do up the nails faster. Get hold of a file which has 220-300 grit, if your nails are healthy and strong.
- You can also buy glass files but they are very expensive.
- Crystal files are almost like glass but they have lower expense.
- There are metals files as well, but they can lead to tearing or peeling of nails. Try and avoid this type of nail file.
Choose the nail shape
Before you start off with the filing procedure, you need to decide the shape you want your nails to look. There are 5 common shapes in which we all love to file our nails. They are oval shape, rectangular shape, round shape, square-oval shape or almond shape. For creating any of these shapes, you have to start from the sides, and then follow your natural curve formed by the cuticles. You reach the center of the nail, and then you differentiate among all the shapes, to transform them into one of these.
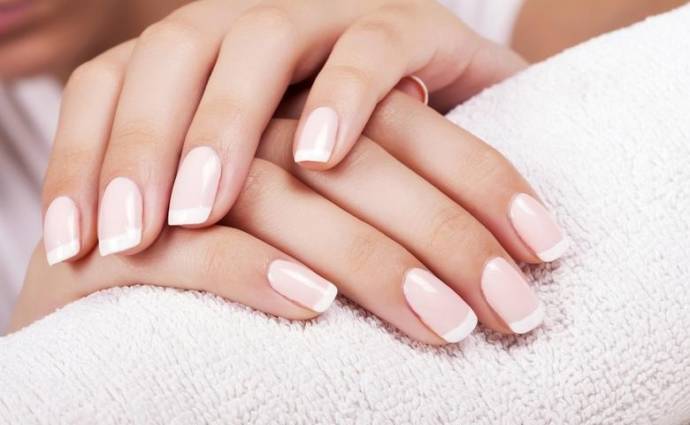
- Oval shape: This shape is basic and for all women, who want to spend less time on their nails. It files from the sides and creates a curve at the top. This makes the nails look oval.
- Rectangular shape: these nails have a curvy edge which meets two flat sides. This creates a rectangular shape and looks neat.
- Round shape: these are more curved than the oval-shaped nails. The sides of round nails are curvy and they meet at the rounded area.
- Rectangular-Oval shape: funnily, this shapes isn’t that circular like oval shape nor is it that straight that you can it rectangular. If you have wide nail beds, this sort of filing is perfect for you. This nails are filled to be curved but they partially look rectangular.
- Almond shape: this is a deeper version of a round nail shape! Almond shaped nails literally look like almonds and they don’t have flat or curvy edges. Although, both the sides meet at a point. This is a quite a dramatic way of filing your nail and it require proper maintenance.
Wash your hands
After buying the perfect instrument and deciding which shape you choose, you need to get ready with the process of filing your nails. At first, start with washing your hands. Cleanse it with soap and water and remove dirt from fingernails, if any. If you have nail paint applied already, don’t bother to take it off! Presence of nail paint makes it easier for you to file. If you want to take it off, then use a regular nail remover and then do the cleansing process. You could also remove the polish after filing, and then newly put another shade.
Dry your hands well
After washing your hands, you need to dry them well. Your fingertips ought to be out of moisture completely. Filing your nails when your hands are moist or after bath can weaken your nails and lead to breakage. You need the enamel to be sturdy and dry, so avoid moist nails when you start this process.
Clip nails
This step is optional and people usually don’t clip their nails before filing. Clipping or cutting your nails before filing makes them short. You might not get your desired results. Thus, you should only clip your nail, when you’re sure that that will help the filing process. For example, there might be an uneven curve which needs to be clipped off or you might want your rectangular nail shape to be short, so you clip it first and then go for the filing. If you aren’t confident about using a clipper before filing, don’t use them at all. A lot of people use straight scissors when clippers aren’t comfortable enough.
File the nails
- File from the sides to the center, as mentioned before.
- Go from each side and then inward, but do not go back and forth. Sawing your files back and forth and not following one direction could break and tear your nails.
- Use short forward strokes for each side. The filing process should lead you to the shape you desired.
- If you want a curved edge you need to curve the nail accordingly, and if you want a rectangular edge, you need to keep filing in flat position.
- Make sure you remain firm and not add pressure on the nails. It can damage your nails and weaken newer growth.
- If you opt for a smooth nail, start with rough grit and then move to fine ones.
- Use rough section of the instrument for filing uneven portions.
Nail buffing
This is another optional step which makes your nails look shiny and smooth. Buffing should be practiced at times and not regularly. If you want do French manicure or get ready for a party, you can buff your nails. Repeat it once a month to make them look better.
Paint a new color
After the entire process is complete, you’re supposed to have shiny nails which are nicely shaped. There should not be sharp or chipped edges. If you haven’t removed the previous nail paint, you should do it now. Have a clear look at your newly shaped nails and then go for your favorite coats. Choose colors and accessorize your nail to make them enhance your nail shape!
Nail care: Do’s and Don’ts
To keep your nail healthier there are some things you must follow. These are like every other routine we follow for other parts of our body. If your teeth need regular brushing, your nails need regular neatening up! Let us read through some do’s and don’ts, to improve on this aspect!
Do’s
- Keeping nail dry and clean: when you keep your nail cleans, you prevent its exposure from bacteria. Bacteria grow beneath your nails and can stay for a longer time if kept uncleaned. With contact to water it can break the nails. Try and wear cotton-lined gloves, specially the ones made of rubber, when you have to wash clothes or dishes.
- Regular Hygiene: when you manicure your nails, use sharp and clean clippers or scissors. Trim the nails straight across and then round up the tips for the soft curve!
- Apply Moisturizer: if you use hand lotion, use some specifically to rub the fingernails and cuticles.
- Add a protective layer: sometimes it is good to apply nail hardener for adding some strength to the nails.
- Supplements: you could ask your doctor about having some supplements to keep the nails from weakening. Biotin is consumed by people who have low vitamin content, and that helps you strengthen the nails.
Don’ts
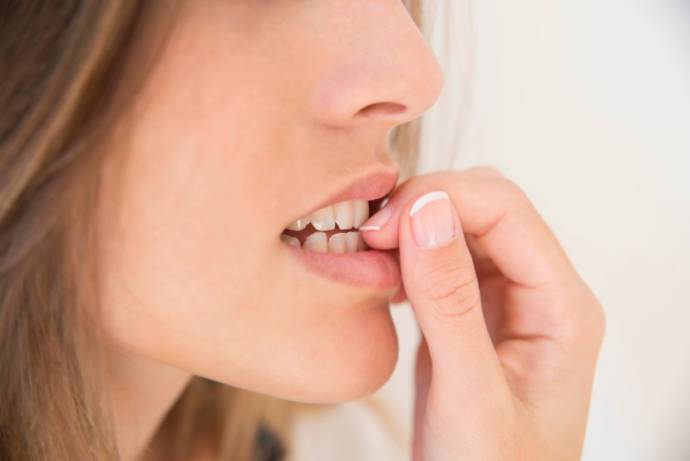
- Avoiding biting and picking on cuticles: this is an unhealthy habit which we follow naturally. This can damage the nail beds and make them weak. A slight cut along the fingernail can bring it bacteria or fungi, which further adds up to an infection.
- Don’t pull of broken nails: pulling off a broken nail might rip a live tissue with it. Fix a broken nail instead of pulling off.
- Don’t ignore nail problems: if you have been facing nail problems which are persistent, you should see doctor right away. There shouldn’t be any delay because the matter could get a little more serious.
- Avoid harsh products: try and use good quality products. None of them are going to be chemical free, but at least purchase expensive ones which will prevent damage.
FAQs
Curved nails can be caused by a variety of issues such as iron deficiency, fungal infection, or a thyroid disorder.
To prevent curved nails, keep them trimmed short and filed regularly to maintain a straight shape.
The best way to treat curved nails is to keep them trimmed and filed regularly and to wear gloves when doing activities that involve using your hands.
Yes, you can try using a warm compress or soaking your nails in olive oil to help fix curved nails.
You can use a nail file to gently shape and even out your nails.
Vitamins such as biotin and minerals like zinc and calcium can help to strengthen and nourish the nails, helping to reduce the appearance of curved nails.
Strengthening nails to prevent them from curving can be achieved by regularly applying a nourishing oil or cream, avoiding long exposure to water, and wearing protective gloves when doing household chores and gardening. Additionally, try to avoid using harsh chemicals or detergents when cleaning. Finally, eating a healthy diet with a good balance of vitamins and minerals can also help to promote strong nails.
Yes, reducing stress, eating a balanced diet, and avoiding harsh chemicals can all help keep your nails healthy and reduce curving.
Yes, there are products specifically designed to help with curved nails, such as nail hardeners and nail growth treatments.
Yes, a podiatrist or dermatologist can provide treatments such as nail bracing or medication to help improve the condition of your nails.


